Seata-Server
官方下载地址:https://github.com/seata/seata/releases
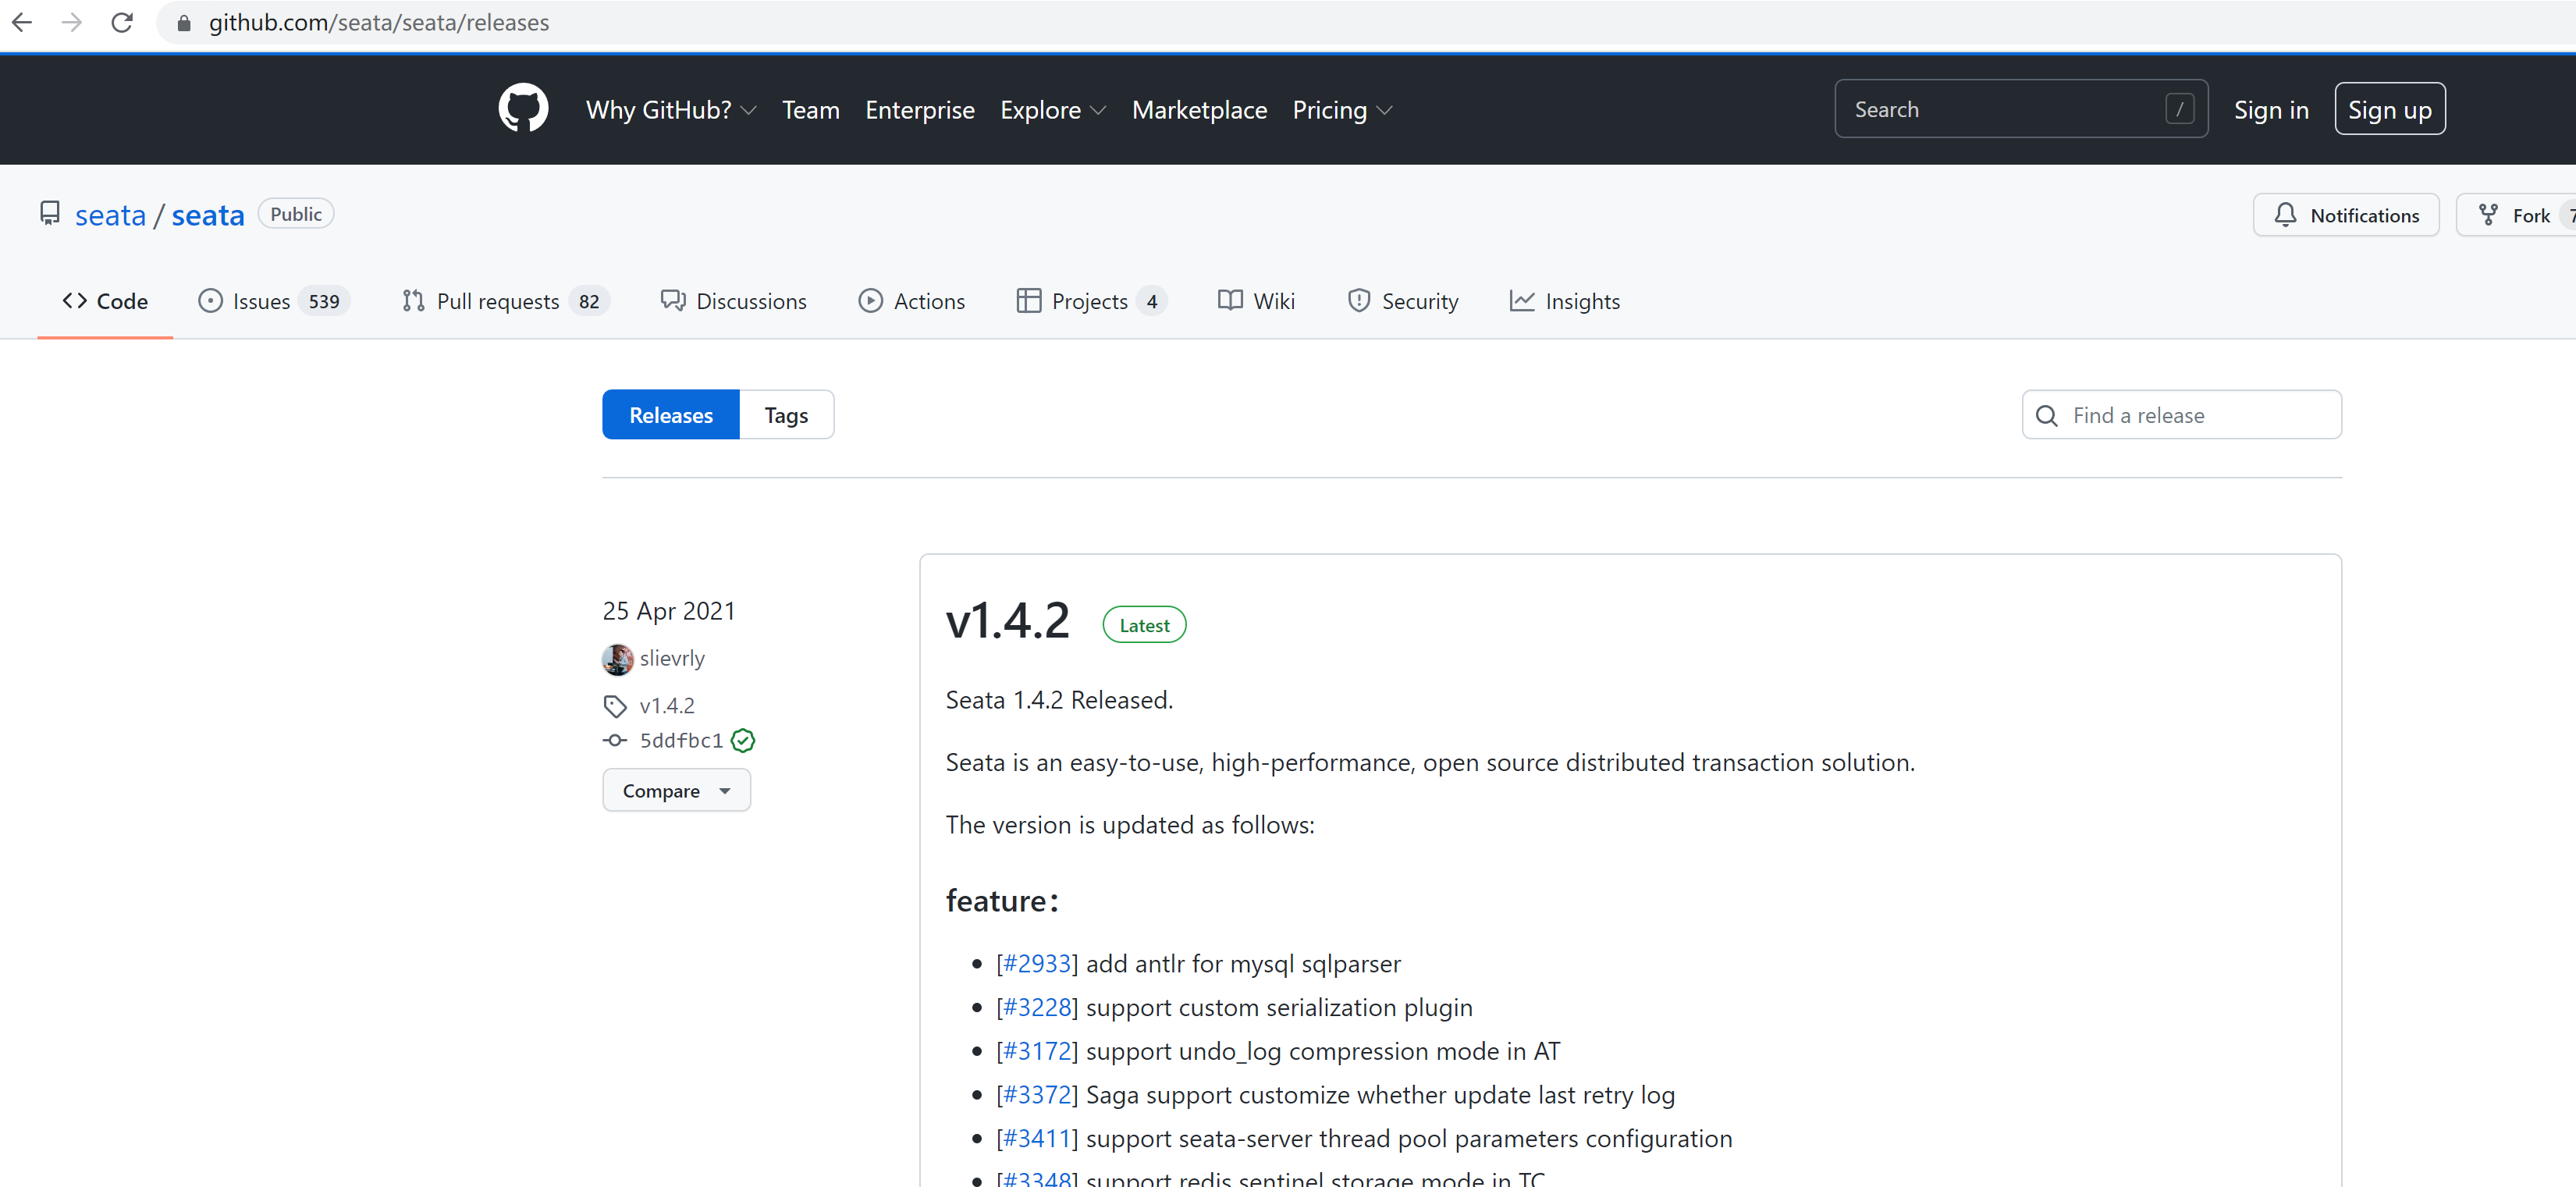
下载完成之后需要解压
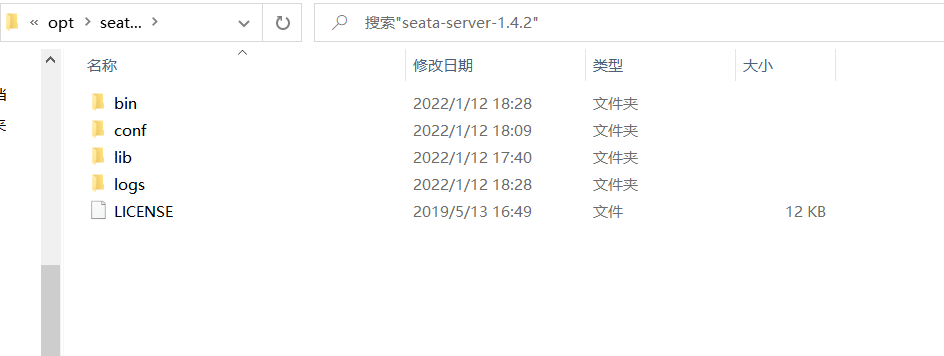
Seata-Server配置
1、 需要打开conf目录;
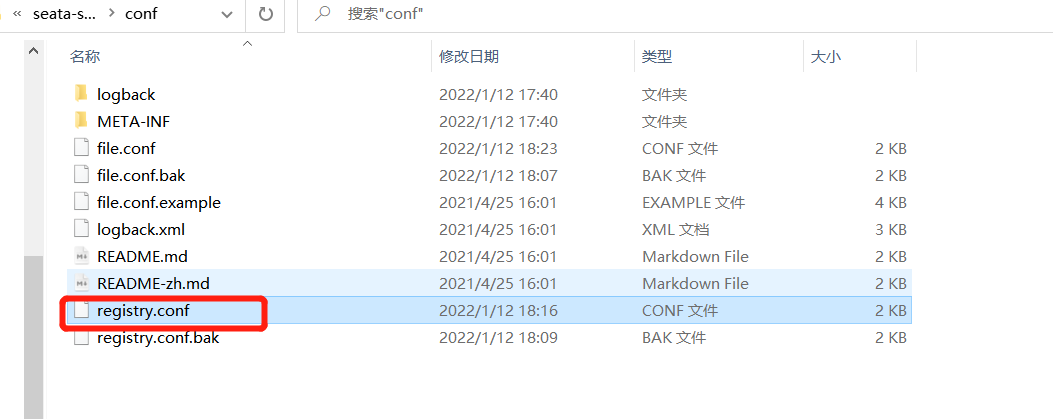
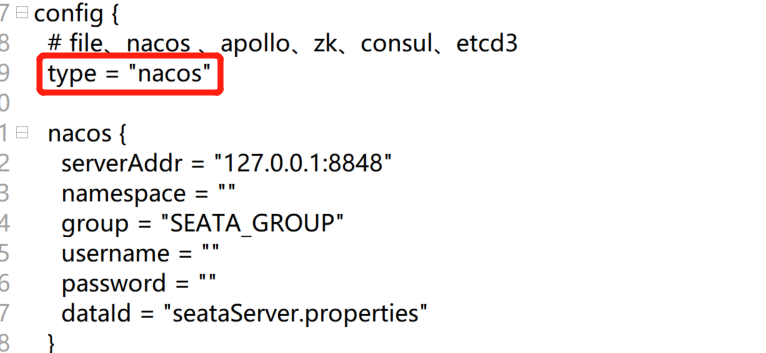
1、 先配置registry.conf配置文件,修改Seata的注册中心和配置中心为Nacos;
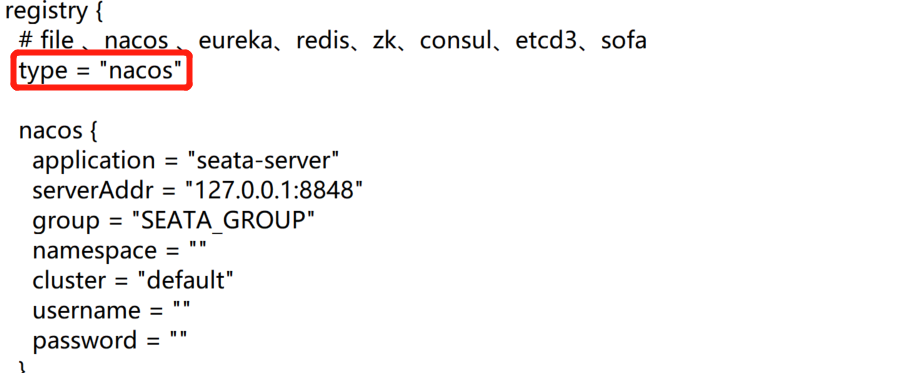
registry {
  # file 、nacos 、eureka、redis、zk、consul、etcd3、sofa
  type = "nacos"

  nacos {
    application = "seata-server"
    serverAddr = "127.0.0.1:8848"
    group = "SEATA_GROUP"
    namespace = ""
    cluster = "default"
    username = ""
    password = ""
  }
  eureka {
    serviceUrl = "http://localhost:8761/eureka"
    application = "default"
    weight = "1"
  }
  redis {
    serverAddr = "localhost:6379"
    db = 0
    password = ""
    cluster = "default"
    timeout = 0
  }
  zk {
    cluster = "default"
    serverAddr = "127.0.0.1:2181"
    sessionTimeout = 6000
    connectTimeout = 2000
    username = ""
    password = ""
  }
  consul {
    cluster = "default"
    serverAddr = "127.0.0.1:8500"
    aclToken = ""
  }
  etcd3 {
    cluster = "default"
    serverAddr = "http://localhost:2379"
  }
  sofa {
    serverAddr = "127.0.0.1:9603"
    application = "default"
    region = "DEFAULT_ZONE"
    datacenter = "DefaultDataCenter"
    cluster = "default"
    group = "SEATA_GROUP"
    addressWaitTime = "3000"
  }
  file {
    name = "file.conf"
  }
}

config {
  # file、nacos 、apollo、zk、consul、etcd3
  type = "nacos"

  nacos {
    serverAddr = "127.0.0.1:8848"
    namespace = ""
    group = "SEATA_GROUP"
    username = ""
    password = ""
    dataId = "seataServer.properties"
  }
  consul {
    serverAddr = "127.0.0.1:8500"
    aclToken = ""
  }
  apollo {
    appId = "seata-server"
    ## apolloConfigService will cover apolloMeta
    apolloMeta = "http://192.168.1.204:8801"
    apolloConfigService = "http://192.168.1.204:8080"
    namespace = "application"
    apolloAccesskeySecret = ""
    cluster = "seata"
  }
  zk {
    serverAddr = "127.0.0.1:2181"
    sessionTimeout = 6000
    connectTimeout = 2000
    username = ""
    password = ""
    nodePath = "/seata/seata.properties"
  }
  etcd3 {
    serverAddr = "http://localhost:2379"
  }
  file {
    name = "file.conf"
  }
}
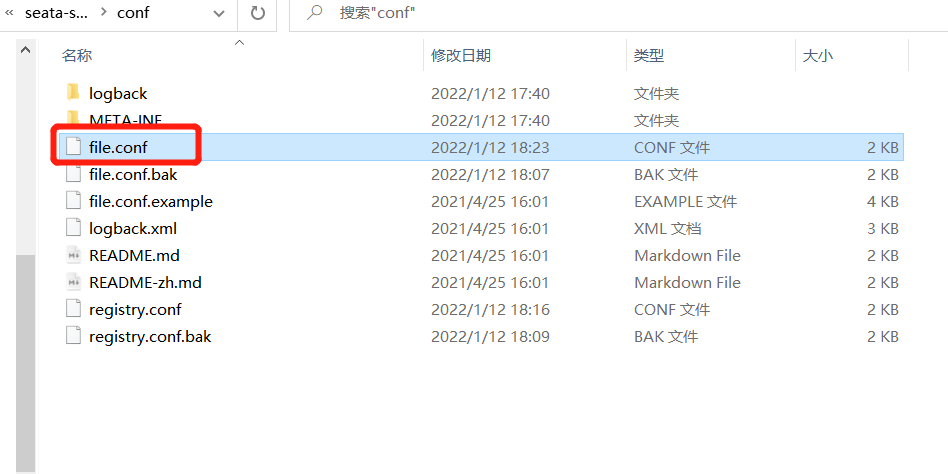
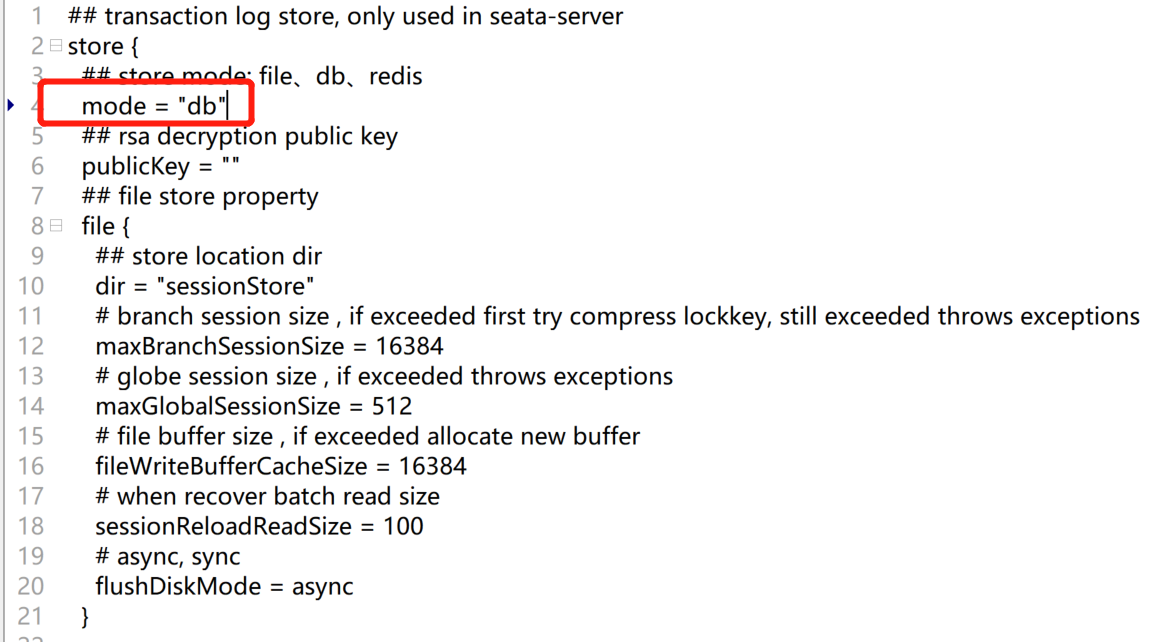
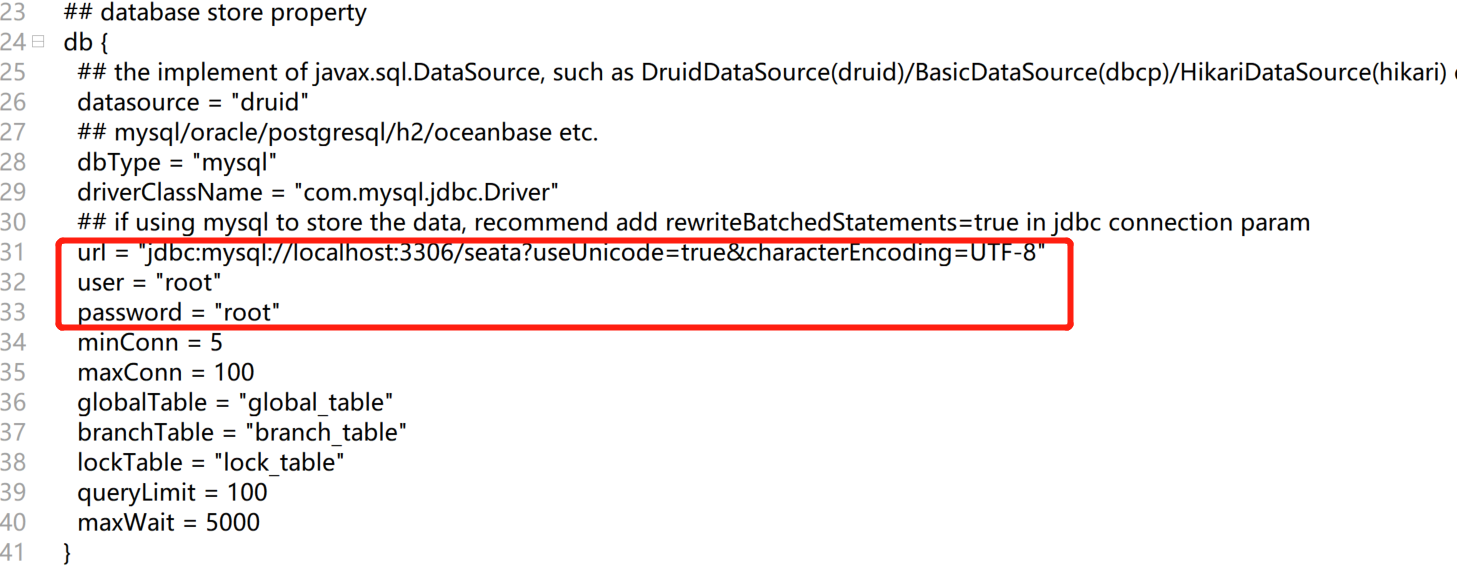
1、 接着我们需要修改Seata的存储模式,修改file.conf文件,把Seata的默认存储模式修改为数据库"DB",同时需要配置JDBC;
## transaction log store, only used in seata-server
store {
  ## store mode: file、db、redis
  mode = "db"
  ## rsa decryption public key
  publicKey = ""
  ## file store property
  file {
    ## store location dir
    dir = "sessionStore"
    # branch session size , if exceeded first try compress lockkey, still exceeded throws exceptions
    maxBranchSessionSize = 16384
    # globe session size , if exceeded throws exceptions
    maxGlobalSessionSize = 512
    # file buffer size , if exceeded allocate new buffer
    fileWriteBufferCacheSize = 16384
    # when recover batch read size
    sessionReloadReadSize = 100
    # async, sync
    flushDiskMode = async
  }

  ## database store property
  db {
    ## the implement of javax.sql.DataSource, such as DruidDataSource(druid)/BasicDataSource(dbcp)/HikariDataSource(hikari) etc.
    datasource = "druid"
    ## mysql/oracle/postgresql/h2/oceanbase etc.
    dbType = "mysql"
    driverClassName = "com.mysql.jdbc.Driver"
    ## if using mysql to store the data, recommend add rewriteBatchedStatements=true in jdbc connection param
    url = "jdbc:mysql://localhost:3306/seata?useUnicode=true&characterEncoding=UTF-8"
    user = "root"
    password = "root"
    minConn = 5
    maxConn = 100
    globalTable = "global_table"
    branchTable = "branch_table"
    lockTable = "lock_table"
    queryLimit = 100
    maxWait = 5000
  }

  ## redis store property
  redis {
    ## redis mode: single、sentinel
    mode = "single"
    ## single mode property
    single {
      host = "127.0.0.1"
      port = "6379"
    }
    ## sentinel mode property
    sentinel {
      masterName = ""
      ## such as "10.28.235.65:26379,10.28.235.65:26380,10.28.235.65:26381"
      sentinelHosts = ""
    }
    password = ""
    database = "0"
    minConn = 1
    maxConn = 10
    maxTotal = 100
    queryLimit = 100
  }
}
启动
启动步骤为,先启动nacos然后在启动Seata-Server
启动Seata-Server的方式非常简单,直接双击此文件即可:seata-server-1.4.2\bin\seata-server.bat

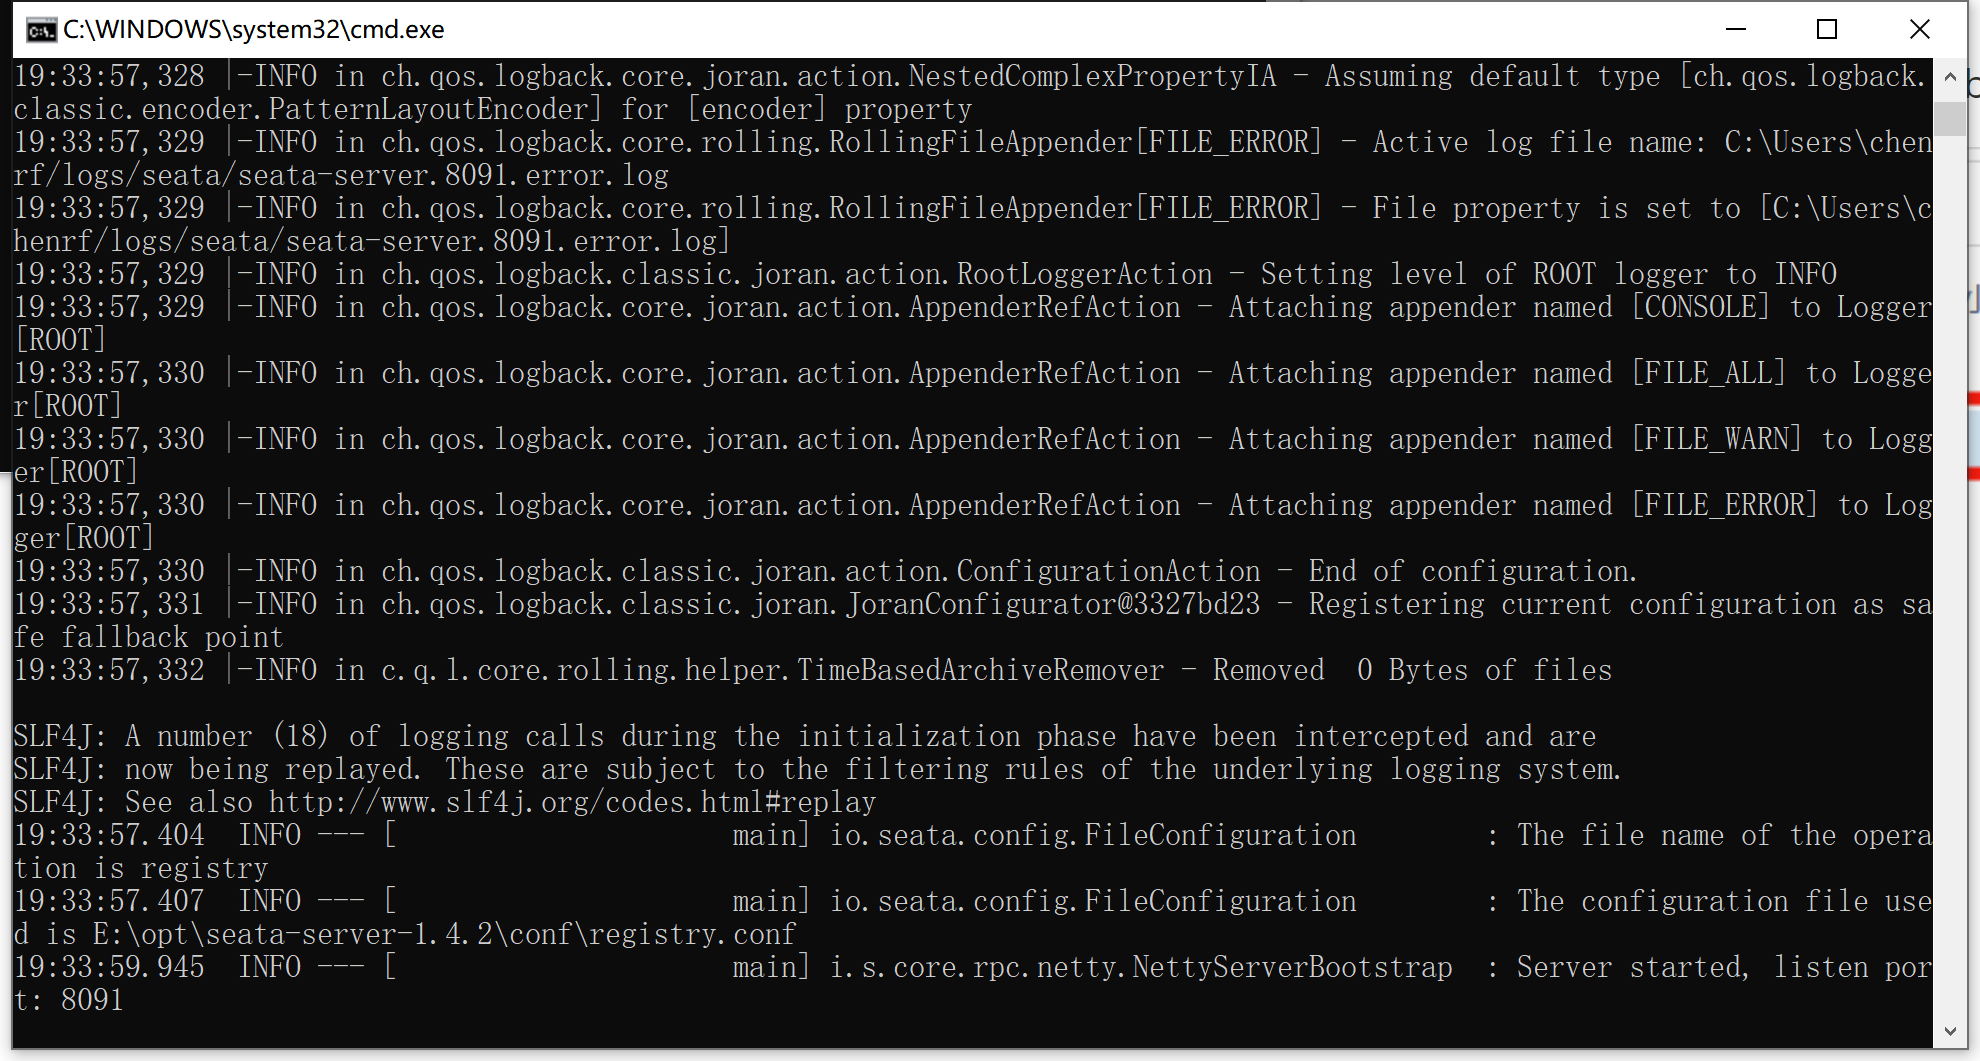
启动完成效果
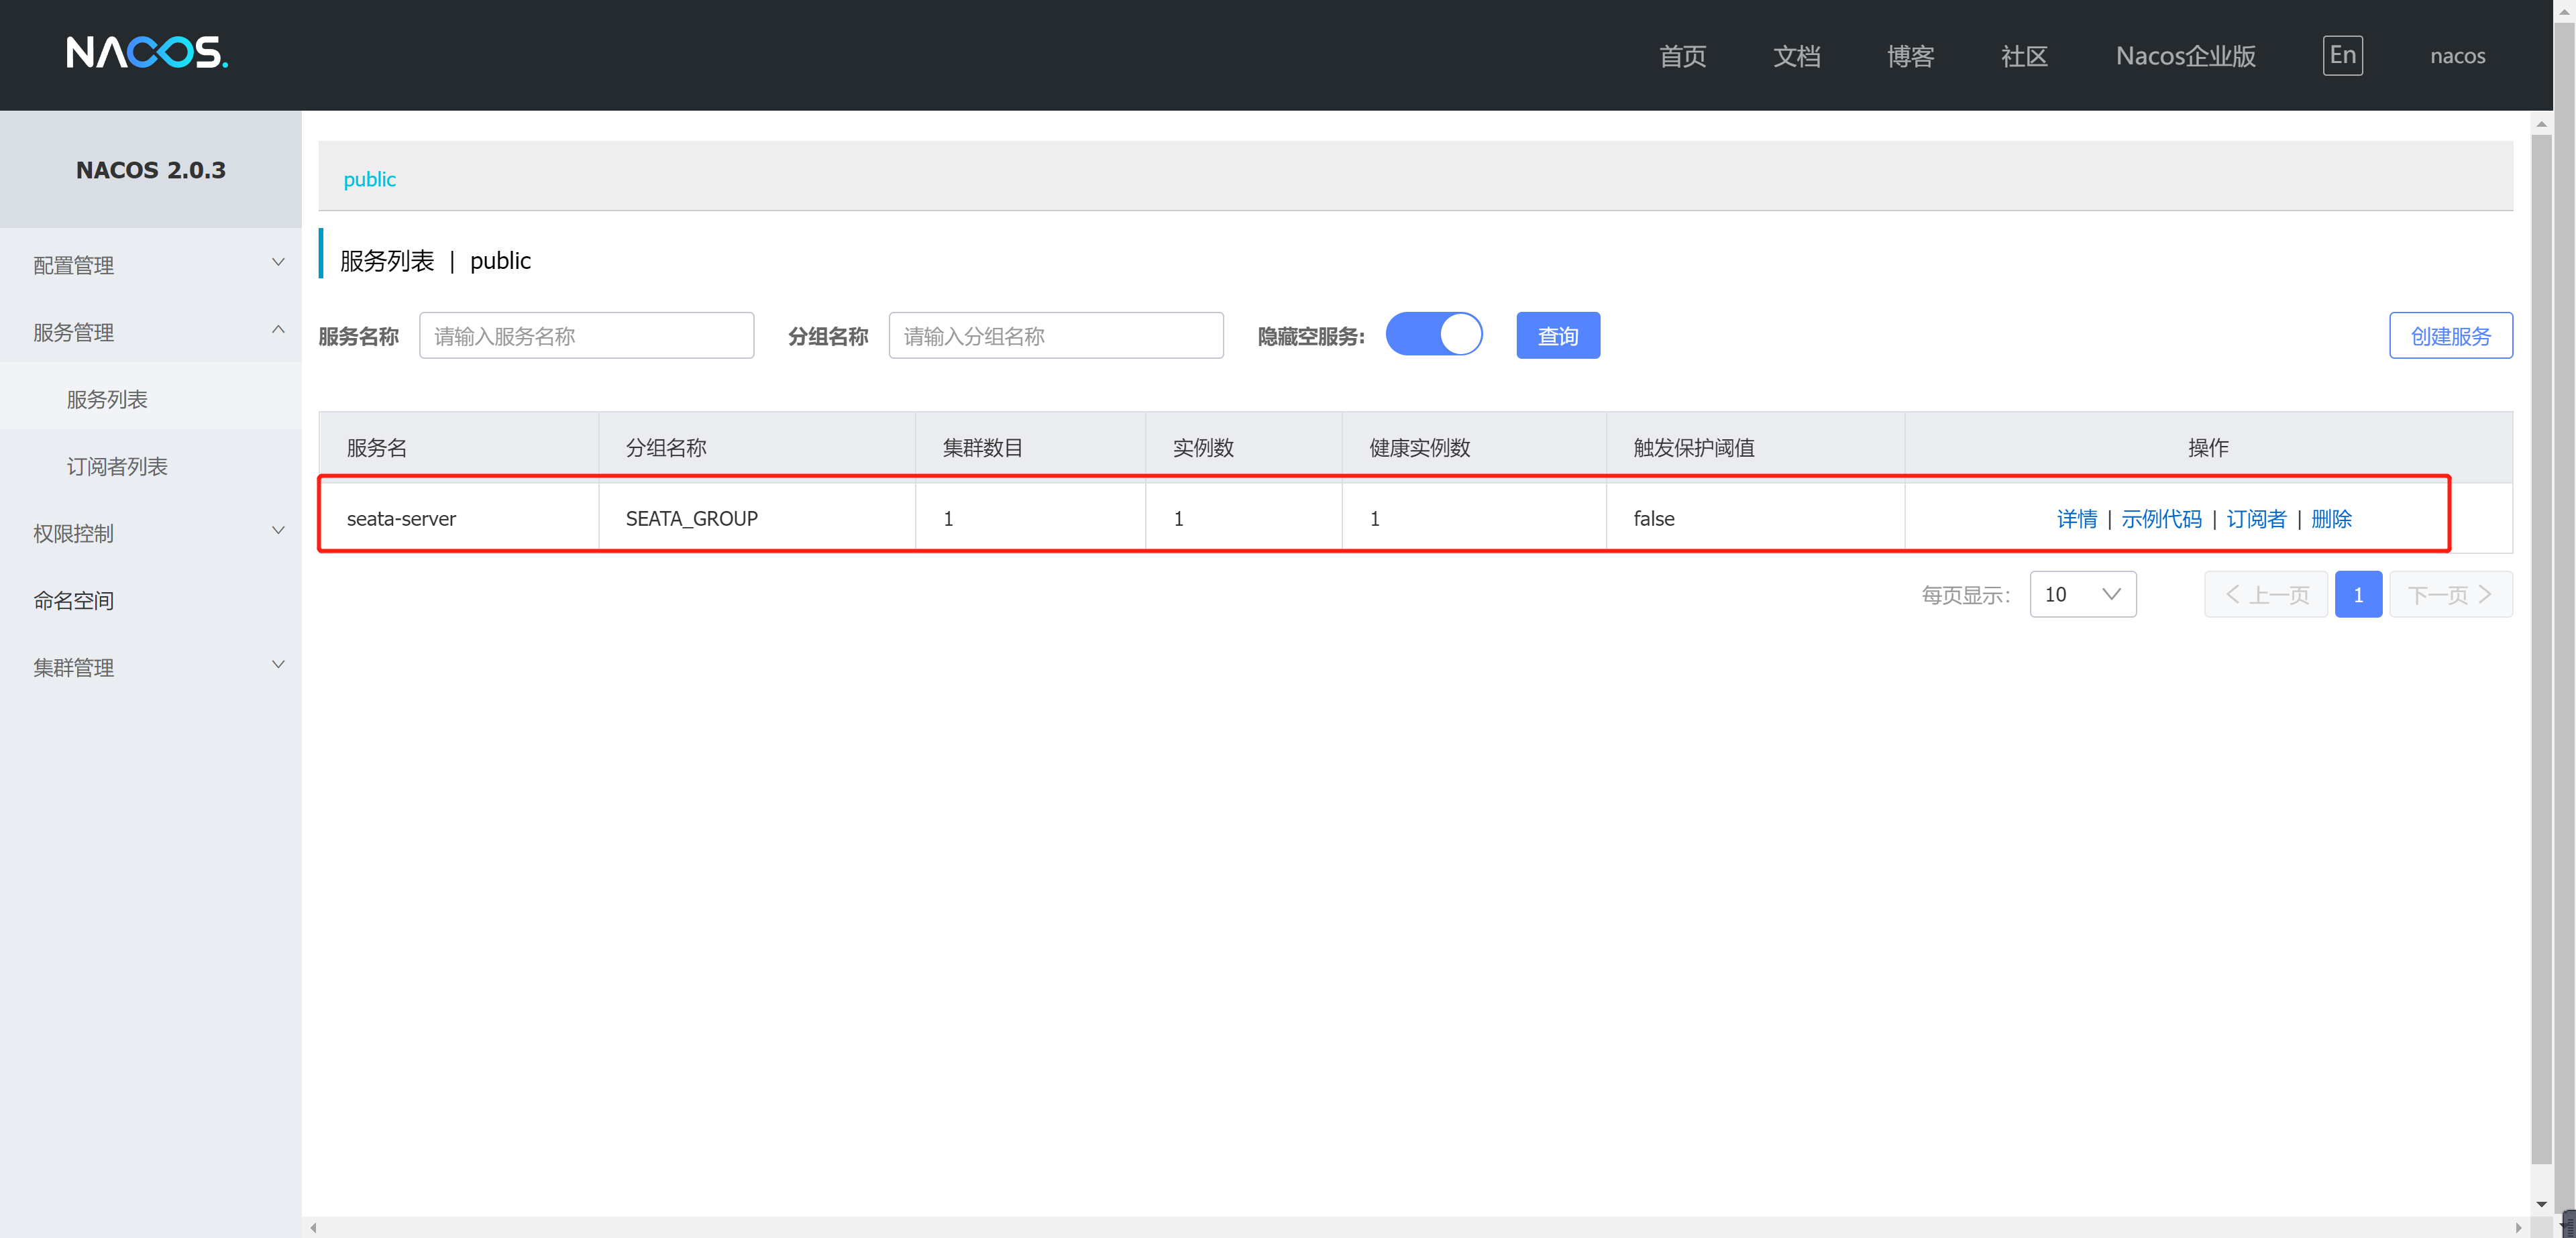
然后在nacos控制台上就可以看到Seata-Server
版权声明:本文不是「本站」原创文章,版权归原作者所有 | 原文地址: